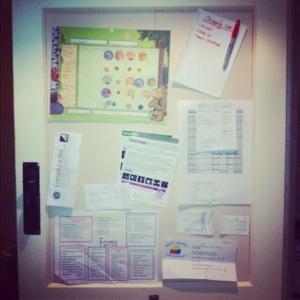
I mentioned in last week’s post that I intended on making a notice board to fit inside one of our kitchen doors. I’ve been in need of a hidden notice board to hold all the usual household admin that tends to collect in piles all over my kitchen surfaces. I’m on a mission to cut out as much clutter as possible to give me less things to tidy and make it quicker to clean – this notice board is the answer to all my prayers and is going to change my life*.
*slight exaggeration!
I’ll level with you right at the start that I’m stretching the truth when calling this a “quick” project. It took me about three hours (not including paint drying time) and there are definitely ways you could speed the process up and get a similar outcome, but I’m happy with the way it’s turned out.
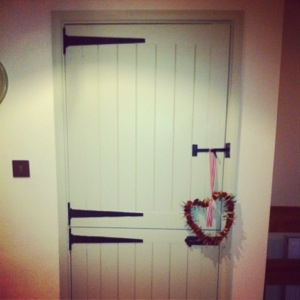
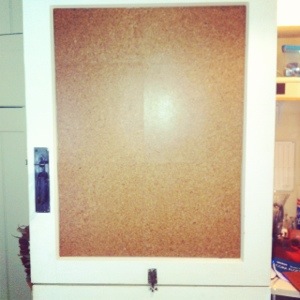
I picked a door in our kitchen that hides our washing machine and washing powder etc. It’s actually an old stable door that we salvaged and re-used when we had a new kitchen fitted last year. I chose that door as we don’t really have any other suitable cupboards in the kitchen, and it’s provided quite a large space for the board.
I wanted a cork board because we’ll want to pin things on that are quite heavy (calendar etc.) that wouldn’t be held by magnets. I knew it needed to be “made to measure” rather than a bought one to maximise the space, and I didn’t want to go au naturel with the cork so chose to paint it.
So here’s how I did it:
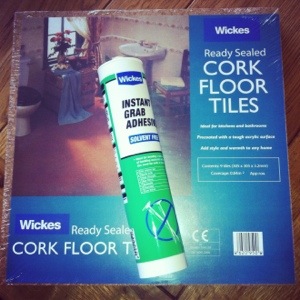
I bought some cork floor tiles from Wickes (the only DIY store I could find that still sell them, clearly a throw-back product from the 1970s!). You can buy online from eBay too. I needed two packs (£8.99 each) as you need to double the cork tiles up so that the pins don’t go all the way through. And I used a tube of Instant Grab Adhesive (£1.88). So this little project cost me a grand total of £19.86.
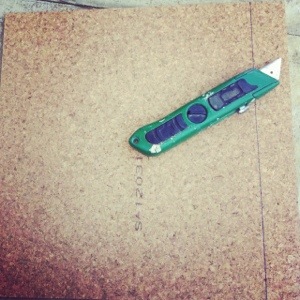
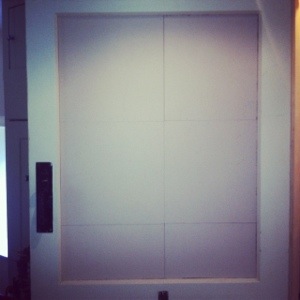
I cut the tiles to fit with a Stanley Knife (be sure to use a sharp blade and cut all the way through for a clean edge). Making sure I applied the adhesive right to the edges, it was just a case of sticking them on to the door.
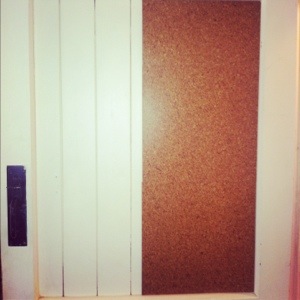
I painted the second layer of cork tiles with a spare tester pot of paint I found in our garage, and then stuck those on top. A voilà!
I’m not actually sure I’ll keep that colour paint. I may paint over it with a more vibrant colour; it could probably do with a second coat of paint now it is in situ anyway.
Again another super simple and cheap DIY project which anyone could do, and one more step on the path away from chaos!


crystaljigsaw
what a great idea! And I love the stable door!
CJ x
thechaosqueen
Thank you! Am just really excited about buying a calendar and having somewhere to hang it (haven’t wanted to put one up in my new kitchen and ruin my beautiful walls!).